This project was submitted by one of our readers, just like you.
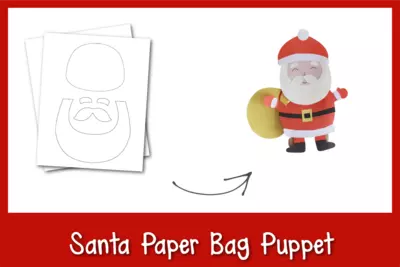
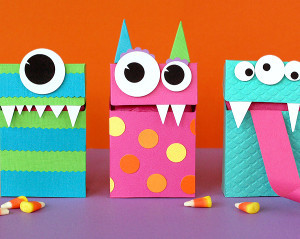
Santa Paper Bag Puppet

Santa Paper Bag Puppet
"Christmas at my house is always full of fun, crafty activities. Surprisingly, we hadn’t done many crafts involving Santa this year yet! I knew it was time to pull out this Santa Paper Bag Puppet for a fun afternoon of crafting with the kids. Paper bag puppets are some of my kids’ favorite crafts and they’re mine too! Paper bags are very inexpensive to purchase and can often be found at the grocery store. I usually have the rest of the materials already on hand, making this a really inexpensive craft project. Even my younger children can help glue the pieces of the puppet together. Following instructions is a skill children need for school, and making a craft at home is a great way to practice that skill. When we craft together, my kids are also honing their fine motor skills and their imaginations! Creating a simple craft is one of our go-to boredom busters."
Primary TechniquePaper Crafts

Materials List
-
Colored construction paper
-
Pencil – to trace the template
-
Craft glue
-
Sharpie or gel pen
-
Paper bag
- Scissors
Instructions
-
Select black, white, pink, yellow, and red colored papers for the Santa puppet. The template includes the following patterns- head, hat, hat border, beard, mustache, eyebrows, hat pompom, gloves, shoes, legs, sleeve border, belt, and buckle.
-
Trace the template patterns on the selected colored papers and cut out the traced pattern
-
Glue the beard onto the bottom of the head.
-
Glue the mustache and eyebrows to the head.
-
Glue the shoes onto the legs and the white glove embellishments to the base of each glove.
-
Glue the white hat border to the bottom of the hat and the white pom pom to the tip of the hat. Cut slits into the yellow buckle and slide the belt through the slits.
-
Glue the hat onto the head. Use a sharpie to draw the facial features on.
-
Select a paper bag or make your own using brown paper. Prepare a large red piece of paper to cover one side of the bag. This is Santa’s body.
-
Glue a white border to the bottom of the body piece and attach the legs.
-
Glue the body to the paper bag under the flap
-
Glue the arms to the sides of the body and the belt across the middle.
-
Attach the head to the flattened bottom of the bag
-
Optional – cut a toy bag out of construction paper and attach it over one of Santa’s shoulders

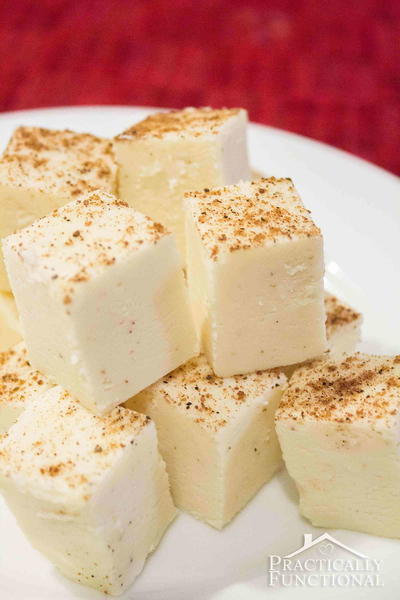
Read NextEggnog Holiday Fudge Recipe