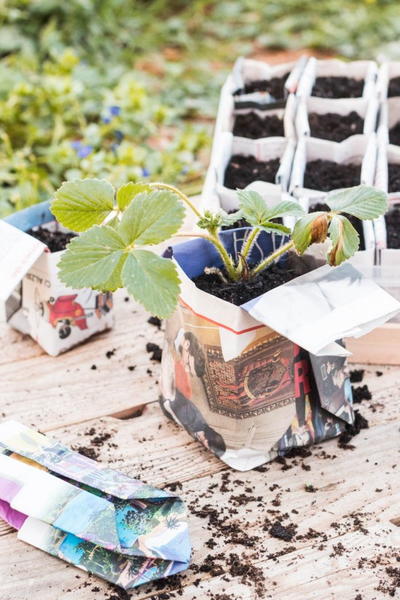
DIY Fabric Flower Pot Covers

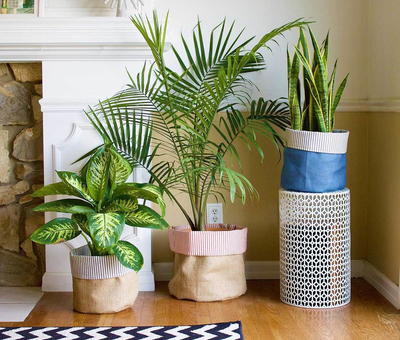
Do you love your houseplants but despise the plain ceramic pots in your home? These DIY fabric flower pot covers will transform the boring brown planters into lively pieces of fabric decor! This easy sewing project can be adapted to fit your home decor or personal preferences to create stunning DIY fabric planters for all of your houseplants. Elevate your plants with this easy tutorial for gorgeous decor. You'll never have to look at boring flower pots again as your plants will emerge from beautiful fabric planters!
Estimated Cost$11-$20
Time to CompleteIn an evening
Primary TechniqueSewing

Project TypeMake a Project
Materials List
- Burlap
- Lining fabric
- Sewing machine and thread
- Pins
- Terracotta flowerpots
- Plastic drip tray
- The Original Orange-handled Scissors™ (8")
- Amplify® Mixed Media Shears (8")
Instructions:
-
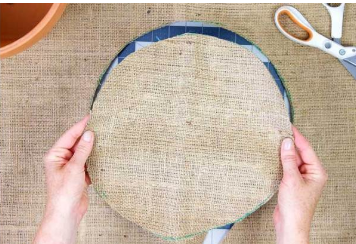
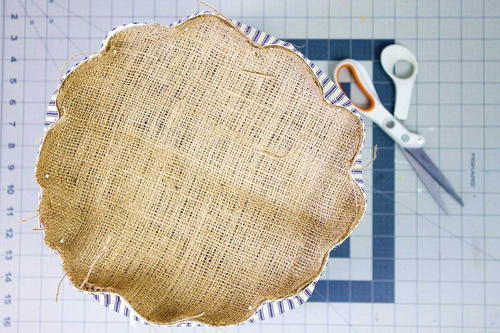
Use the plastic drip tray or the top rim of the flowerpot (whichever is larger) as a template by laying it on top of the burlap fabric. Draw around the circle adding an extra 1” and cut out using the 8” Amplify® Mixed Media Shears.
-
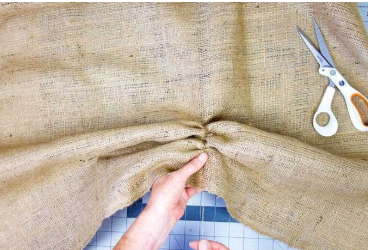
Next, determine the required length of the rectangle of fabric that will be the sides of your planter cover. Measure the diameter of the circle cut in step 1. The length of the rectangle will be the diameter of the circle multiplied by 3.14. The width of the rectangle will be determined by measuring the height of the flowerpot and adding 6”. To accurately cut burlap, mark the measurement points and pull out an entire thread from the burlap. Once you have removed one thread of burlap from the weave, you'll have a straight and accurate cutting line. Cut the burlap using the 8” Mixed Media Shears.
-
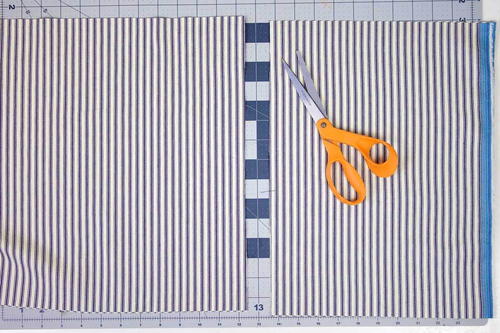
Cut a piece of lining fabric using the Orange Handled Scissors and adhere to the same measurements as the rectangle in the previous step.
-
Pin the burlap rectangle to the lining rectangle with the wrong sides of the fabric facing each other. Join the two short ends of both fabrics together and stitch to create a cylinder. Fold back the raw edges of the seam allowance and stitch down to reinforce the seam.
-
Turn the cylinder so that the lining fabric is on the outside. Pin the circle you cut in step 1 to the bottom of the cylinder and sew around the perimeter and continue to turn the planter cover to the right side.
-
Place the drip tray and flowerpot in the planter cover and check sizing. Turn over the top edge of the planter cover to reveal the contrast lining.

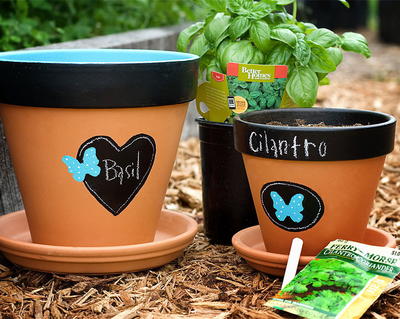
Read NextDIY Chalkboard Flower Pots
Your Recently Viewed Projects
Thanks for your comment. Don't forget to share!
flowergirl
Nov 28, 2018
Fabric plant pot covers have been give this year. You can use fabric scraps for this kind of project like in this case burlap with some striped fabric. It all depends on your style so feel free to create. This tutorial however is the bomb, it would fit in well in a country chic or rustic style.
Report Inappropriate Comment
Are you sure you would like to report this comment? It will be flagged for our moderators to take action.
Thank you for taking the time to improve the content on our site.