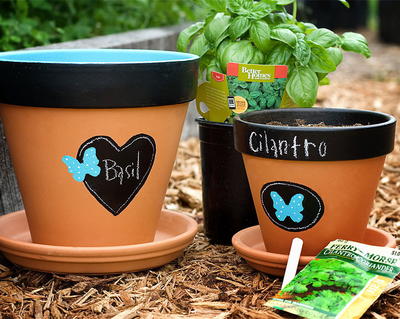
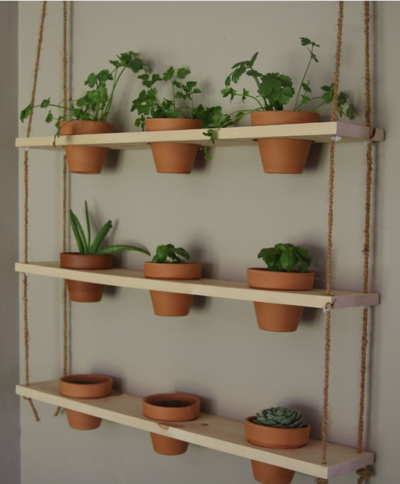
DIY Chalkboard Flower Pots

Chalkboard decor is huge right now, but you don't have to pay tremendous amounts for your own piece of this practical trend. These DIY chalkboard flower pots create cute designs for your plants without the inflated price tag. You can even create your own chalkboard paint in any color you wish to save more money! Make these precious planters today to elevate your flowers and herbs with beautiful chalkboard designs. It's easy to add patterns and designs or simple stripes to label all of your plants.
Estimated Cost$11-$20
Time to CompleteIn an evening
Primary TechniqueGardening

Project TypeMake a Project
Materials List
- Fingertip Detail Knife
- Terracotta flower pot
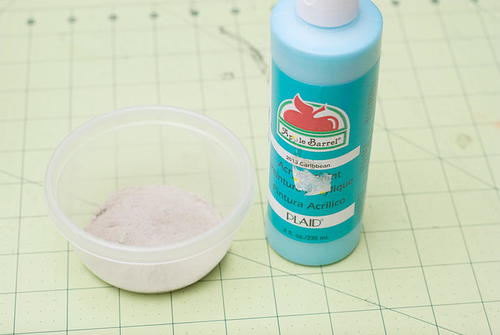
- Premixed chalkboard paint or un-sanded grout and colored paint of choice
- Freezer paper
- Spray-on adhesive
- Foam roller
- Masking Tape
Instructions:
-
Create a mask by layering strips of masking tape on the front of a terracotta flowerpot. If you will be painting the rim of the pot as well, wrap masking tape around the pot beneath the rim to help achieve a crisply-painted line. Using a Fiskars Shape Template, cut out your desired shape and place the cut shape over the masking tape, and trace it onto the tape. Using the Fiskars Fingertip Knife, lightly trace over the traced shape and peel away the masking tape.
-
Using premixed chalkboard paint and a sponge roller (for a flat, smooth finish), paint over the masked area. You will need to apply 2-3 coats for thorough coverage.
-
To make a chalkboard paint the color of your choice, mix 2 tablespoons of un-sanded grout with an 8 ounce bottle of paint.
-
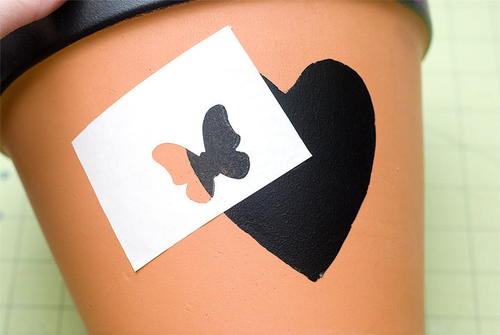
Punch a butterfly from a piece of freezer paper and cut a wide area around it to create another mask.
-
Spray the paper side of the punched freezer paper butterfly and the mask from the previous step with adhesive. Allow the adhesive to dry until it is no tackier than masking tape. If you do not wait, you will have adhesive residue left behind on your pot and it does not come off without the paint coming off with it. Place the punched butterfly on the pot, trace around the butterfly, and remove it.
-
Scuff up the area inside the butterfly tracing with the Fiskars Fingertip Detail Knife.
-
Place the mask over the scuffed butterfly. For even better paint adhesion, you might apply a coat of primer before applying your homemade chalkboard paint. Roll or brush on your colored paint.
-
Let the paints dry for 24 hours. Any areas of homemade chalkboard paint need to be lightly sanded with 150 grit paper. All painted areas should be conditioned by rubbing them with the side of a piece of chalk and removing it with a soft cloth.


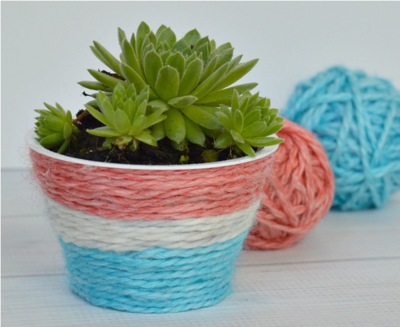
Read NextDyed Yarn DIY Plant Pot