This project was submitted by one of our readers, just like you.
Leprechaun Paper Puppet

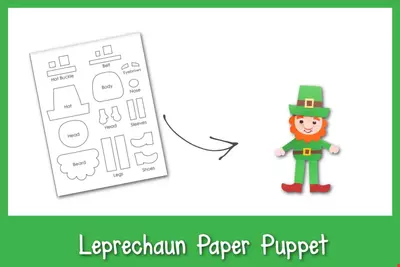
Leprechaun Paper Puppet
"This fun Leprechaun Paper Puppet is perfect for your kids this St. Patrick's Day. Paper puppets are especially fun for kids because they get to play with them when they're done. This craft is perfect for littles all the way up to tweens and teens. You will love having your family gathered around the table working on a project together. They keep their hands busy and you get to soak in the quality time. A fun craft and a fun toy to play with when you're done. "
Primary TechniquePaper Crafts

Materials List
- Colored paper
- Craft glue
- Googly eyes
- Sharpie
- Pencil
- Scissors
Instructions
-
To make a leprechaun paper puppet you need different colored papers. Then trace the hat, body, sleeve, and leg patterns on the green-colored paper. Take the pink-colored craft paper and trace the leprechaun’s head, nose, and hands for the skin. If you want you can use other color craft paper for the skin. In the orange paper, trace the beard and eyebrow paper, and in black paper trace the strips and small squares, and big squares on the yellow or golden paper. Trace the shoes on the black or brown paper, and then finally cut out the traced patterns.
-
If your kids can’t draw the pattern, then there are templates available and you can download them to make the job simple and easier
-
Attach the head on the beard cut-outs by keeping the scalloped border of the beard around the side. Then attach the shoe cut-outs on either side of the leg cut-outs and then the hand cut-outs on either side of the sleeve cut-outs
-
Then attach the small square (black) in the middle of the big square (yellow or golden) and then attach these square strips in the middle of the black strip which will be the belt. Take the belt and attach it to the body cut-out. Attach the sleeve along with the hands-on on both sides of the body pattern and attach the leg patterns on the bottom side of the body pattern
-
If you are done with attaching the cut-outs then grab the google eyes, small foam, and head pattern. Glue the foam cut-out on the head which should be in the center or slightly away from the center
-
Glue the nose cut-out on the top of the foam piece

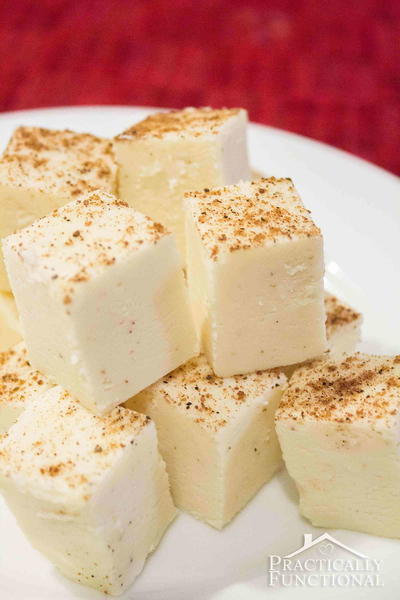
Read NextEggnog Holiday Fudge Recipe