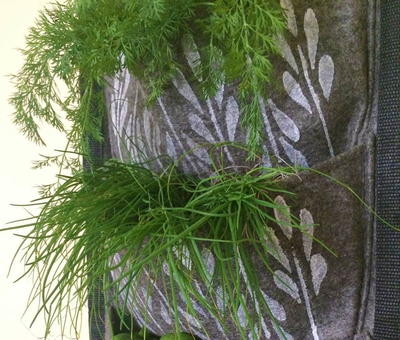
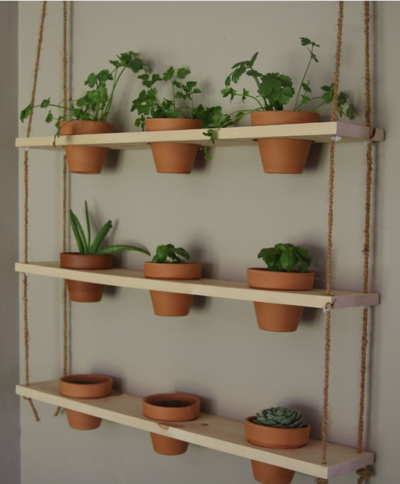
DIY Vertical Herb Garden

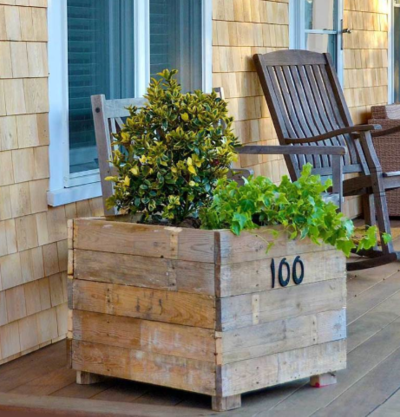
Transform your yard with a DIY vertical herb garden! This herb garden hangs on an old clothes drying rack making it a wonderful upcycling project. This herb garden not only gives you an easy way to grow plants without taking up a large amount of space, but it also provides a privacy screen from your neighbors. This DIY outdoor herb garden will revolutionize the way you maintain and store your greenery allowing for more outdoor space. You will appear to have a larger yard while saving money on fresh herbs for your favorite thrifty recipes.
Estimated CostUnder $10
Time to CompleteUnder an hour
Primary TechniqueGardening

Project TypeMake a Project
Materials List
- Metal accordion folding clothes drying rack
- 8-12 standard 8” plastic garden pots w/ lip
- Potting soil
- Herb plants of your choice
- 8-12 metal “S” hooks (1.5 inch)
- PowerGear2™ Pruner
- Big Grip Transplanter (400S)
- Softgrip® Micro-Tip® Pruning Snip
- Big Grip Trowel (400S)
Instructions:
-
Set up your freestanding expandable rack in the area you’d like to divide or partition for privacy.
-
Plan out where you’ll hang the pots, allowing some space between them. Hang some S-hooks to mark the spots.
-
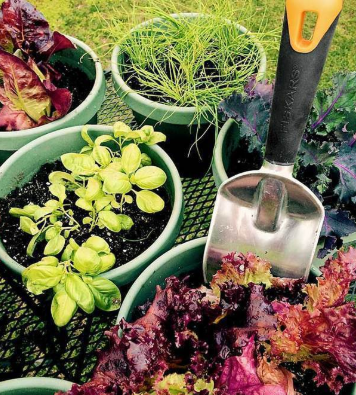
Plant the containers with your favorite herbs. Fill the pots about ¾ of the way with potting mix using a Big Grip Trowel. The oversized scoop will help you get large amounts of planting mix in to the pots quickly and easily. Use the Softouch® Micro-Tip Pruning Snips to open the plastic packaging of the plants. The snips are just the right size to remove the plants without damaging the root structure. Finally, use the Big Grip Transplanter to actually plant your herbs. The transplanter has built in gradation marks that will ensure that the hole in the soil is the correct depth for each plant.
-
Wedge one side of the S-hook firmly under the lip of the pot, then loop the other side over the rack’s horizontal rod, working your way down. For most racks, you can place three pots across the width of two rods, then set them on the top shelf at an angle. You can also hang them on the lowest rod, or just place the pots on the ground. The size of your clothes drying rack will determine the number of pots required to fill the rack.
-
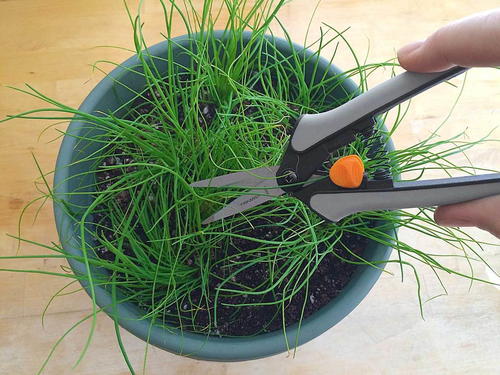
Snip the herbs as you need them for cooking. Plant, cultivate, harvest, divide and conquer!
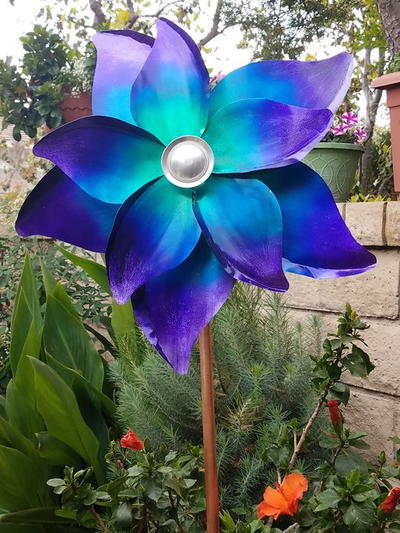
Read NextDIY Garden Spinner