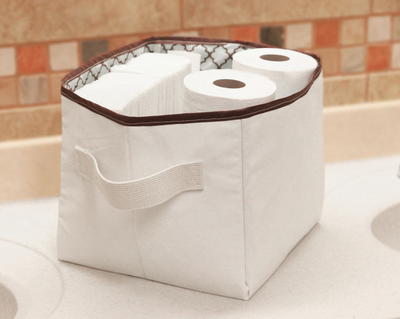
DIY Collapsible Storage Cubes

Fabric storage cubes keep your home neat and organized, but buying them individually can break the bank. This DIY collapsible storage cube pattern allows you to create the same great product with your own hands. This sewing pattern provides storage and organization for any room in your home; it can also be used in the car! This pattern can be designed to meet many style and size preferences. This easy sewing project will leave you wondering why you ever paid for a storage solution when you can make your own. It's time to get sewing!
Estimated CostUnder $10
Time to CompleteIn an evening
Primary TechniqueSewing

Project TypeMake a Project
Materials List
- Canvas, home dec fabric, or coated fabric (depending on purpose)
- Thread
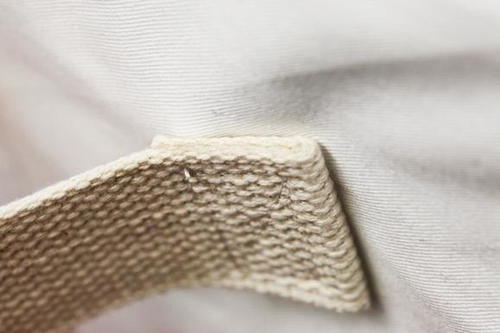
- Binding tape
- Foamcore board, cardboard, or plastic mesh sheets
- Webbing
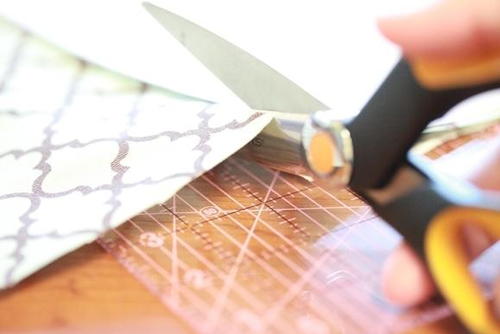
- RazorEdge™ Softgrip® Scissors (8")
- Micro-Tip® Scissors (No. 5)
- Coastal Colors Acrylic Ruler (6" x 24")
- Cutting Mat (18" x 24")
Instructions:
-
To get started, determine the height, width and length of the tote you intend to make. Create a pattern by drawing the bottom of the tote on a piece of paper. Measure and add the sides to the pattern; each size is the same height, which is the desired height of the tote. When complete, the pattern should resemble a cross design or an unfolded box cut apart at each corner.
-
Use the pattern to cut two pieces of fabric. One will be for the outside of the tote and the other for the lining. You may want to use a contrasting or coordinating fabric for the lining.
-
If you wish to add handles to the tote, cut a length of webbing and sew it to the right side of the fabric. Fold the ends of the webbing under before sewing.
-
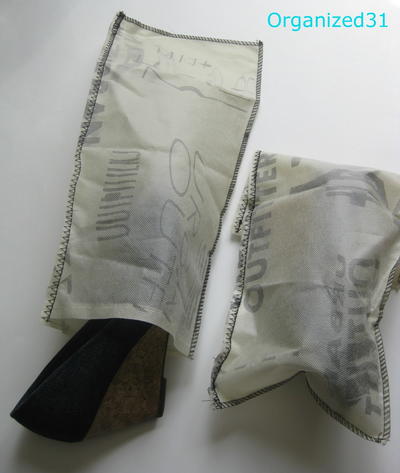
Once the handles are attached, place both pieces of fabric together (wrong sides facing each other). Stitch down the middle of each panel (vertically) with the handle. The stitching will run from the top edge to the bottom of the side panel.
-
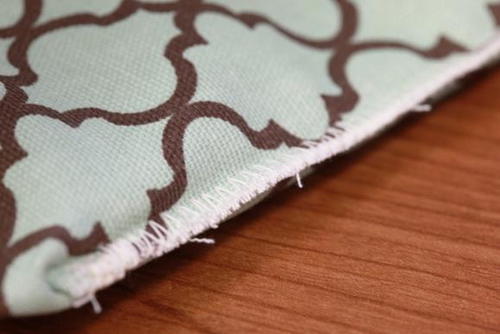
With the lining fabric facing you, begin to match and stitch the edges of the tote. To create a finished edge on a regular sewing machine, use a zig zag stitch.
-
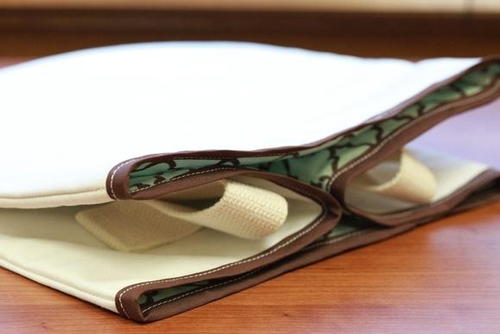
When all of the sides are stitched, turn the tote right side out. There will be a pocket on the front and back panel and two smaller pockets on each of the side panels. Cut cardboard or similar material to fit inside each pocket and insert. Then sew binding tape over the top edge to finish.

Read NextQuick and Easy DIY Travel Kit