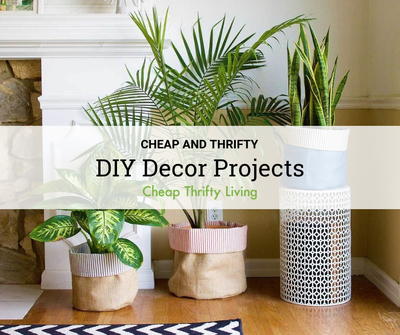
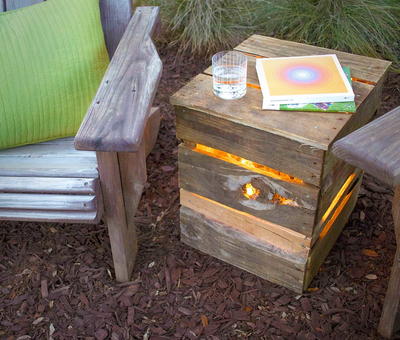
DIY Pallet Light Box

Enjoy your yard all day with this DIY pallet light box! This easy pallet idea creates a lighting fixture for your yard. Lighting can easily be overlooked when planning your outdoor space, but this upcycled pallet project ensures that your lawn will be well lit at all times during the day. This step-by-step guide will provide the perfect lighting solution for your outdoor space! By re-purposing an old pallet, you can create this lighting fixture in under $10 and in a short amount of time.
Estimated CostUnder $10
Time to CompleteIn an evening
Primary TechniqueWood Crafts

Project TypeMake a Project
Materials List
- IsoCore™ 28 oz Framing Hammer (16")
- Wood pallet
- String lights
- Nails
- Screw hooks
Instructions:
-
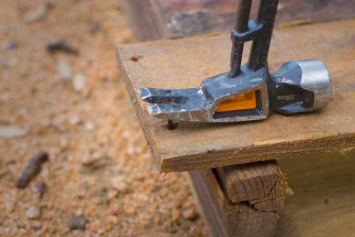
The first step is to pull the pallet apart. The IsoCore 20 oz General Use Hammer will assist you in this step. It has a rip claw that will allow you to pull out the nails quickly and easily while its soft grip handle has a sculpted profile to fit the shape of your hand. This means you will get a good grip on a nail and the hammer won’t slip out of your hand.
-
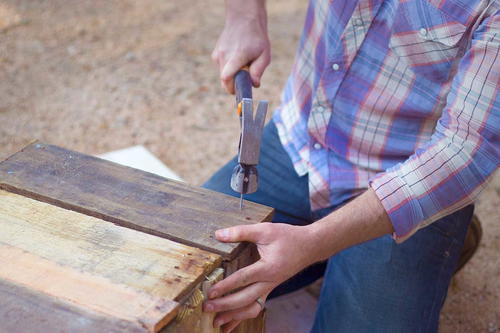
Cut the boards into the size you want your finished light box to be. You will need four 2" x 4" pieces to construct the base, and the number of 1/2" x 4" pieces needed to form the face of the box will depend on the height you cut the 2" x 4" pieces to.
-
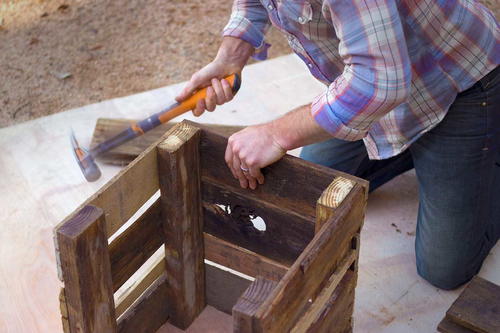
Start by attaching a 1/2" x 4" wood piece to two of the 2" x 4"s. Continue adding the thinner pieces to the 2" x 4"s until you have faced a whole side. Repeat on the remaining 2" x 4" pieces to build a second side. Once you have built two sides, attach them to each other by nailing the 1/2" x 4" boards to each side. Repeat on the remaining side to finish the base. Be sure to leave room between the wood slats to allow light through.
-
Once the sides are assembled, attach the remaining 1/2" x 4" pieces across the top.
-
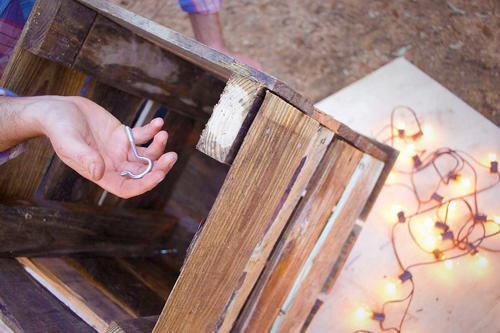
Flip the box over and screw hooks into the inside of the top. Place one in each corner to hold the string lights in place.
-
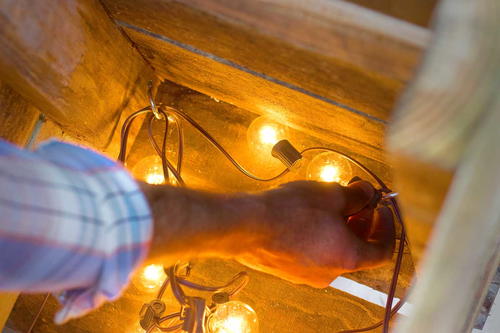
Finish by attaching your string lights to the hooks. Battery operated lights are recommended as they don't require access to an outlet.
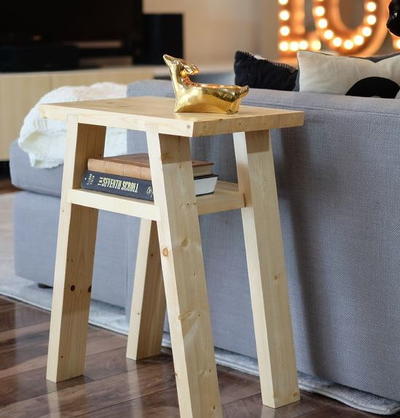
Read NextEasy $9 DIY Side Table
Your Recently Viewed Projects
Thanks for your comment. Don't forget to share!
flowergirl
Nov 28, 2018
Do you have a bunch of pallet boards lying around in your backyard and you don't have a use for them yet? This lightbox idea will interest you. All you do is pull apart the wood and reattached them to form a box. Add some string light and you have a super rustic light box that you made with little to no money.
Report Inappropriate Comment
Are you sure you would like to report this comment? It will be flagged for our moderators to take action.
Thank you for taking the time to improve the content on our site.