DIY Lampshade Cover

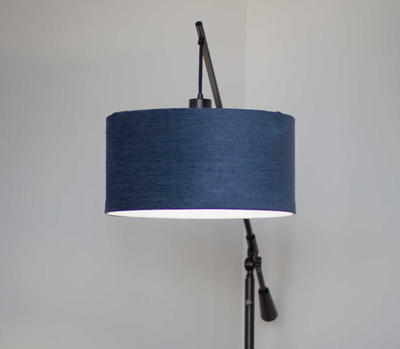
Revamp your lighting with this DIY lampshade cover. This DIY lampshade can be made out of scrap fabric to provide an upscale project without spending money on materials. This thrifty project will turn a lamp in your home into a personal piece of decor that will be the focal point of any room. By using fabric scraps, this lamp can also match other decor in your home creating a cohesive design on a budget. Try this DIY lampshade idea today and brighten your home with a piece of personalized decor.
Estimated CostUnder $10
Time to CompleteUnder an hour
Primary TechniqueHome Decor

Project TypeMake a Project
Materials List
- Straight-sided lampshade
- Tailor's chalk
- String
- Fabric
- Ruler
- Spray fabric adhesive
- Iron and ironing board
- Mini binder clips
- RazorEdge™ Fabric Shears (8")
- Acrylic Ruler (6" x 24")
- Cutting Mat (24" x 36")
Instructions:
-
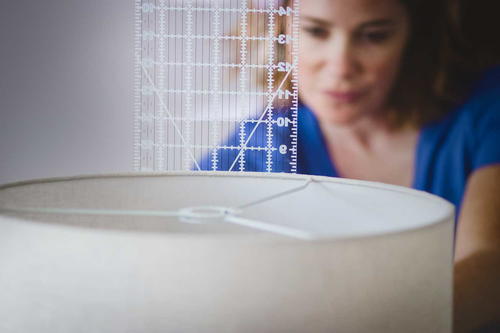
Measure the fabric. First, lay out the fabric of your choice on your work surface and measure the circumference of your lampshade with a length of string. Add 1" to the total and record this measurement. Next, measure the lampshade's height with a ruler, add 2" to the total and record this measurement.
-
Mark the fabric for cutting. Use tailor's chalk and the Fiskars® 6" x 24" acrylic ruler to mark the lampshade’s height and width measurements on the side of the fabric that will be facing in against the lampshade.
-
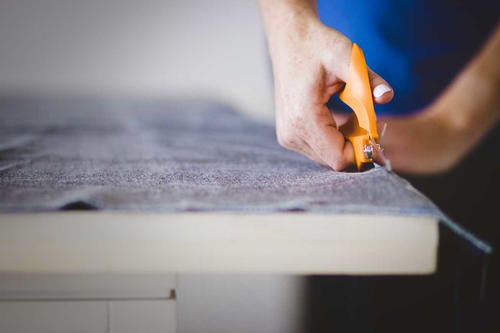
Cut the fabric. Using the marked lines, cut the fabric with the RazorEdge™ Fabric Shears, designed for clean, crisp cuts through fabric.
-
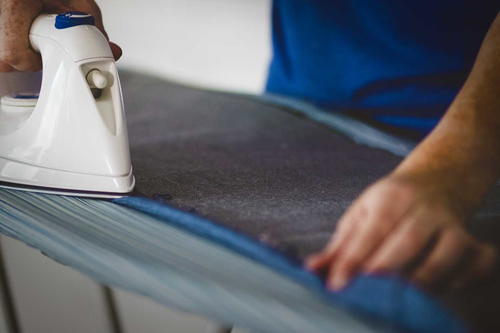
Iron the fabric. Lay out the fabric and fold in 1" of both the top and bottom edges. Iron at the 1" fabric mark to create a crease that will fold into the lampshade on the bottom and lay crisply on the top.
-
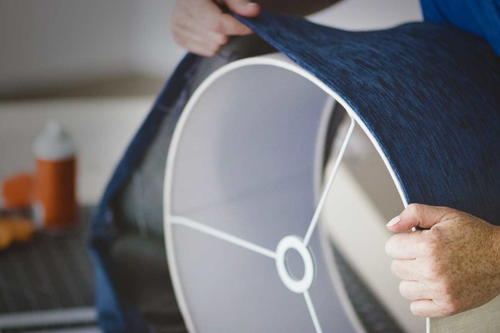
Adhere the fabric to the lampshade. Spray the lampshade with the fabric adhesive and wrap the fabric, chalk side in, around the lampshade, starting at the seam. Fold over the extra 1" at the end to create a neat seam and glue down. Next, fold the bottom 1" fabric under the lampshade so the fabric continues into the underside for a crisp adhesion. Keep the top 1" folded on itself, but apply flush with the top of the lampshade so as to avoid fabric hanging over the lampshade’s internal bars. Allow to dry using mini binder clips to hold it in place, if necessary.
-
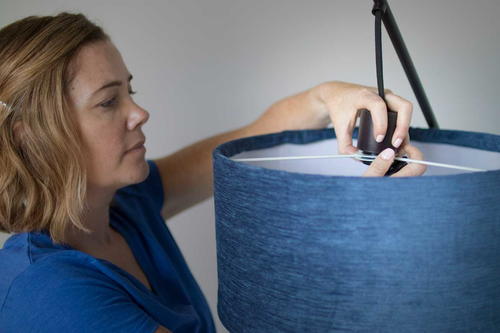
Attach lampshade to lamp. Once lampshade is dry, attach to desired lampstand.
Read NextRustic Twig Monogram
Your Recently Viewed Projects
Thanks for your comment. Don't forget to share!
flowergirl
Nov 28, 2018
A simple straight to the point tutorial for turning a plain lampshade to match your decor and style. It's beginner friendly and very affordable so it makes the perfect dorm room decor.
Report Inappropriate Comment
Are you sure you would like to report this comment? It will be flagged for our moderators to take action.
Thank you for taking the time to improve the content on our site.